5. HAMMER FORMING ALUMINIUM SKIN & FINAL

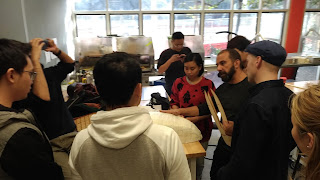
16/05/18 TUTORIAL
REQUIREMENTS FOR THIS TASK:
Fuel Tank Model
Group mates
MDF Templates
Wooden Stump
Nylon Mallet
Aluminium Skins
Clamps
Spindle Sander
Round and Body Shape Dolly
Jigsaw
The goal of this task was to form an aluminium skin over a chosen region of the Wallace Custom Fuel Tank model.
PROCESS:

Blister technique: Creating the Depth of the aluminium skin
To tackle this challenge, we thought the Blister making exercise was the perfect application to this task because our chosen part was precisely a symmetrical shape that resembled a droplet, and so free forming wasn't a necessity.
 |
| Getting ready to trace 'z-10' waffle cut onto MDF Board (black). |
Using the 'Z-10' waffle cut, (with the size as identical as the top face of the fuel tank), we traced it onto two 20mm MDF Board. This would later on be used as the Blister Template.
We then proceeded on to using a jigsaw to cut out the traced shape (of Z-10) on both template boards.
After clamping both templates together, we used a spindle sander to smoothen (even out, to be exact) the edges of both template molds, so that when we start forming our aluminum skin, the result would be consistent and accurate.

So we realized that the template's edges were thin, which may be a problem because a thin edge can only withstand so much force when shaping the metal with a mallet.
NOTE: To ensure that the aluminium sheet (in between) is in tact while being formed, we first needed to sandwich the components together, using 45x3.0mm screws on the corners with a power drill, AND THEN clamp the work onto the edge of a table.

Aside from the form, the main goal of applying the Blister approach was to achieve the overall depth of the aluminium skin. That is why, using a nylon mallet, we started off stretching the edges first, particularly the front-side of the blister mold, and then descending in depth as we traveled further back.
 |
| Skin depth matching with the model. |
After forming on the blister, we expected a droplet-like shape of the aluminium skin, where the front-side is deeper (in depth) than the other. This process was also necessary as it created the overall shape of the skin, that would be free formed around in the next stage.
 |
| Cutting the edges to desired shape |
Stretching and Shrinking on a wooden stump

After taking the blister templates out, I then placed my part onto the hollow region of a wooden stump I found in the room. Using an iron mallet, I applied mandatory amounts of pressure to shrink the edges of my part in order to further shrink the overall shape.
When I got comfortable with the shape, I quickly switched to using a sandbag to smoothen the lumps and dents made from hammering.
The overall shape was getting there, the English wheel helped improve the appearance of the part, as the bumps and dents were easily restored to normal.
 |
| PROGRESS TOP AND PERSPECTIVE SHOTS |
THE NEXT DAY (21.5.18)
 |
| Using dolly to further define the shape of my part. |
The form was already in place. It was just a matter of perfecting it, which was why I used a round dolly and nylon mallet to help even the bumps and dents leftover from yesterday.
 |
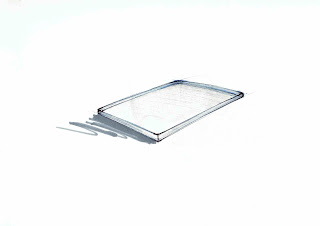
| END RESULT after using Brasso Metal Polish |
FINAL SHOTS


Comments
Post a Comment